CO2 sensor
Breathe better
Elevated levels of CO2 can influence how you feel.
Wake up refreshed
If your bedroom has a high CO2 levels at night, this may cause headaches.
Make it smart
Automatically open a window when CO2 levels get too high.
Disable data transmission
The built-in screen shows measurements directly.
Can generate fake data
Generate data that looks like levels are holding steady.
Voice control
Sometimes you don't want to measure everything that happens in your home. In those cases it's easy to disable data transmission of the sensor, for example through voice control.
Candle's voice control is fully local - it doesn't make any connection to the internet.
Why can this sensor generate fake data?
The CO2 levels in your home go up if more people are present. This means the CO2 sensor can also be used as a people counter.
Young adults should be able to bring over friends, or a date, without this being immediately readable to the parents. We believe this is vital to healthy social development.
Sometimes a smart home can measure too much.
Creating the sensor
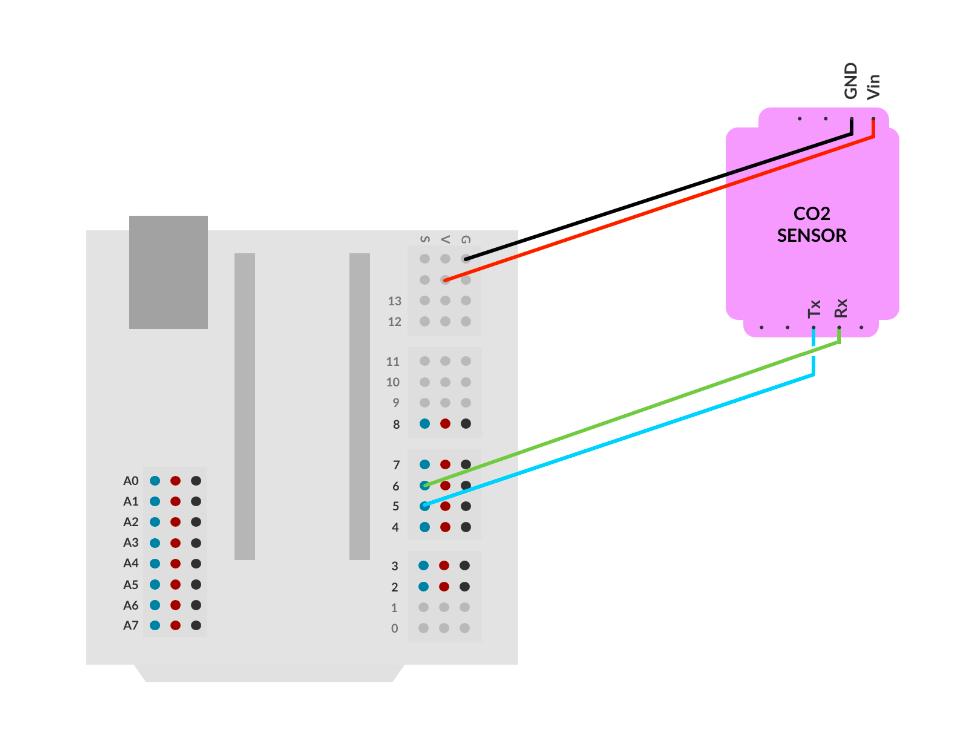
Connect the CO2 sensor
Connect the sensor's TX (Transmit) pin to signal pin 5 on the expansion board.
Connect the sensor's RX (Receive) pin to signal pin 6 on the expansion board.
Connect the sensor's VCC (positive) pin to any VCC (positive, red) pin on the expansion board.
Connect the sensor's GND (ground) pin to any GND (ground, black) pin on the expansion board.
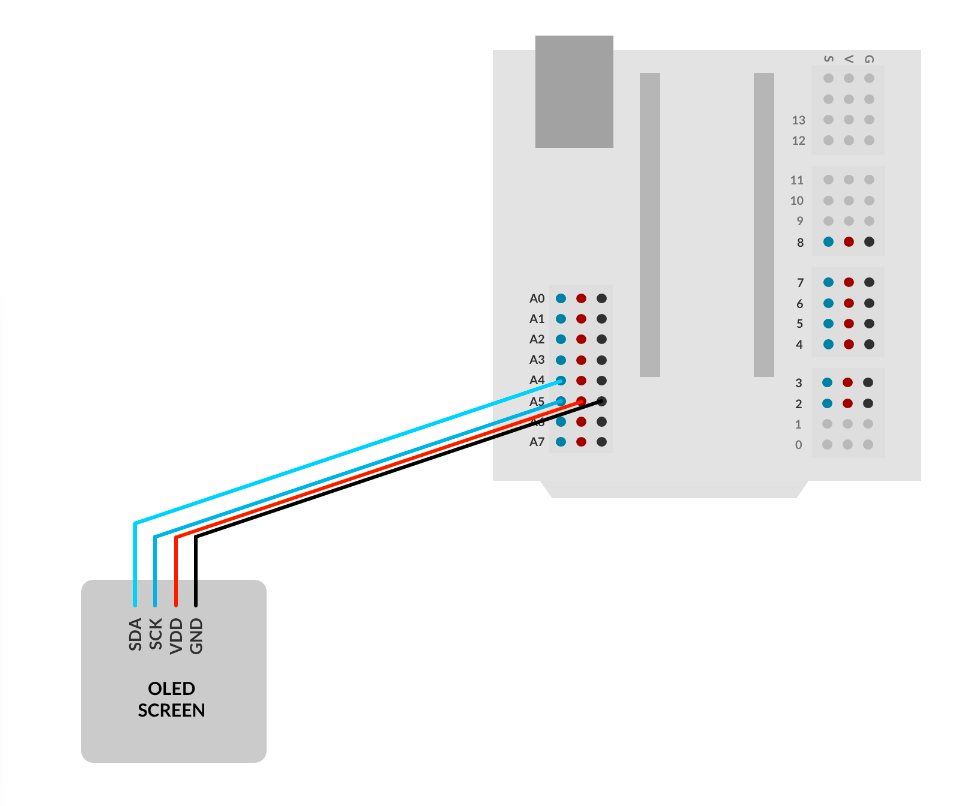
Connect the OLED display
Connect the display's SDA (Signal Data) pin to signal pin A4 on the expansion board.
Connect the display's SCK (Signal Clock) pin to signal pin A5 on the expansion board.
Connect the display's VD0 (positive) pin to any V (positive, red) pin on the expansion board.
Connect the display's GND (ground) pin to any G (ground, black) pin on the expansion board.
Plug in the RF-Nano Arduino
Plug the RF-Nano into its socket. The USB connector should be on the outside of the main board.
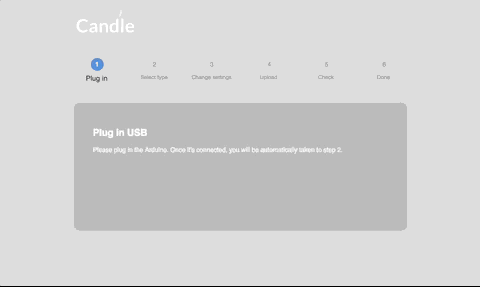
Open the Candle Manager
Select the Candle Manager from the menu, and follow the steps. It will help you upload the code to your new creation.
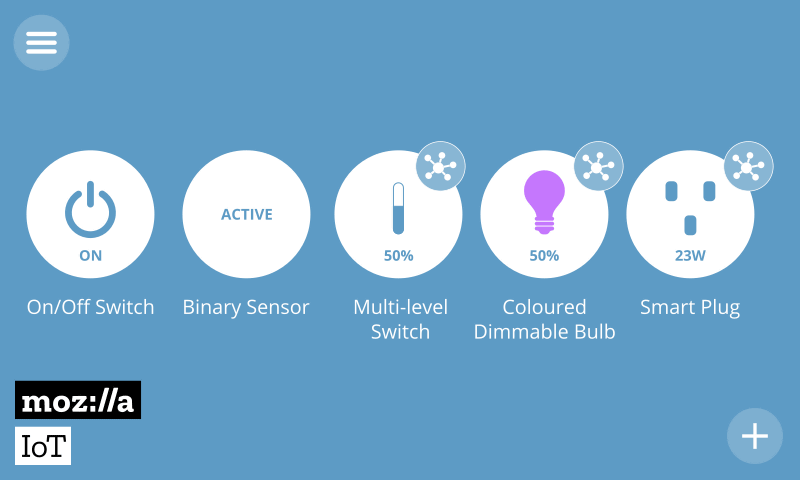
Add your new device
Visit the Candle controller and on the things page press the (+) icon. Your new creation should be available. Optionally, select which of its properties you'd like to have in the spotlight. Click on "save" to complete the proces.