Get Candle
Candle is not for sale, but you can make one yourself, starting at 85 euro / dollar.
Step 1: buy the parts
A Raspberry Pi and a USB stick
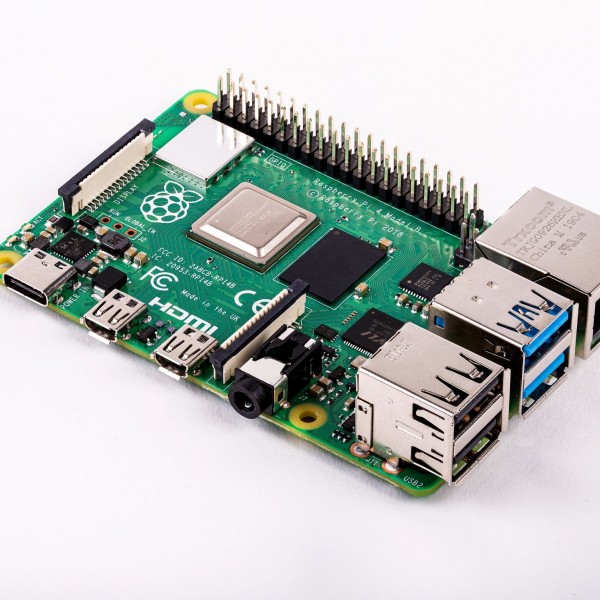
Raspberry Pi 4 starter kit
These kits have everything you need, including a power supply and an SD card. Make sure you get a kit with a 2Gb (or more) version of the Raspberry Pi 4b.
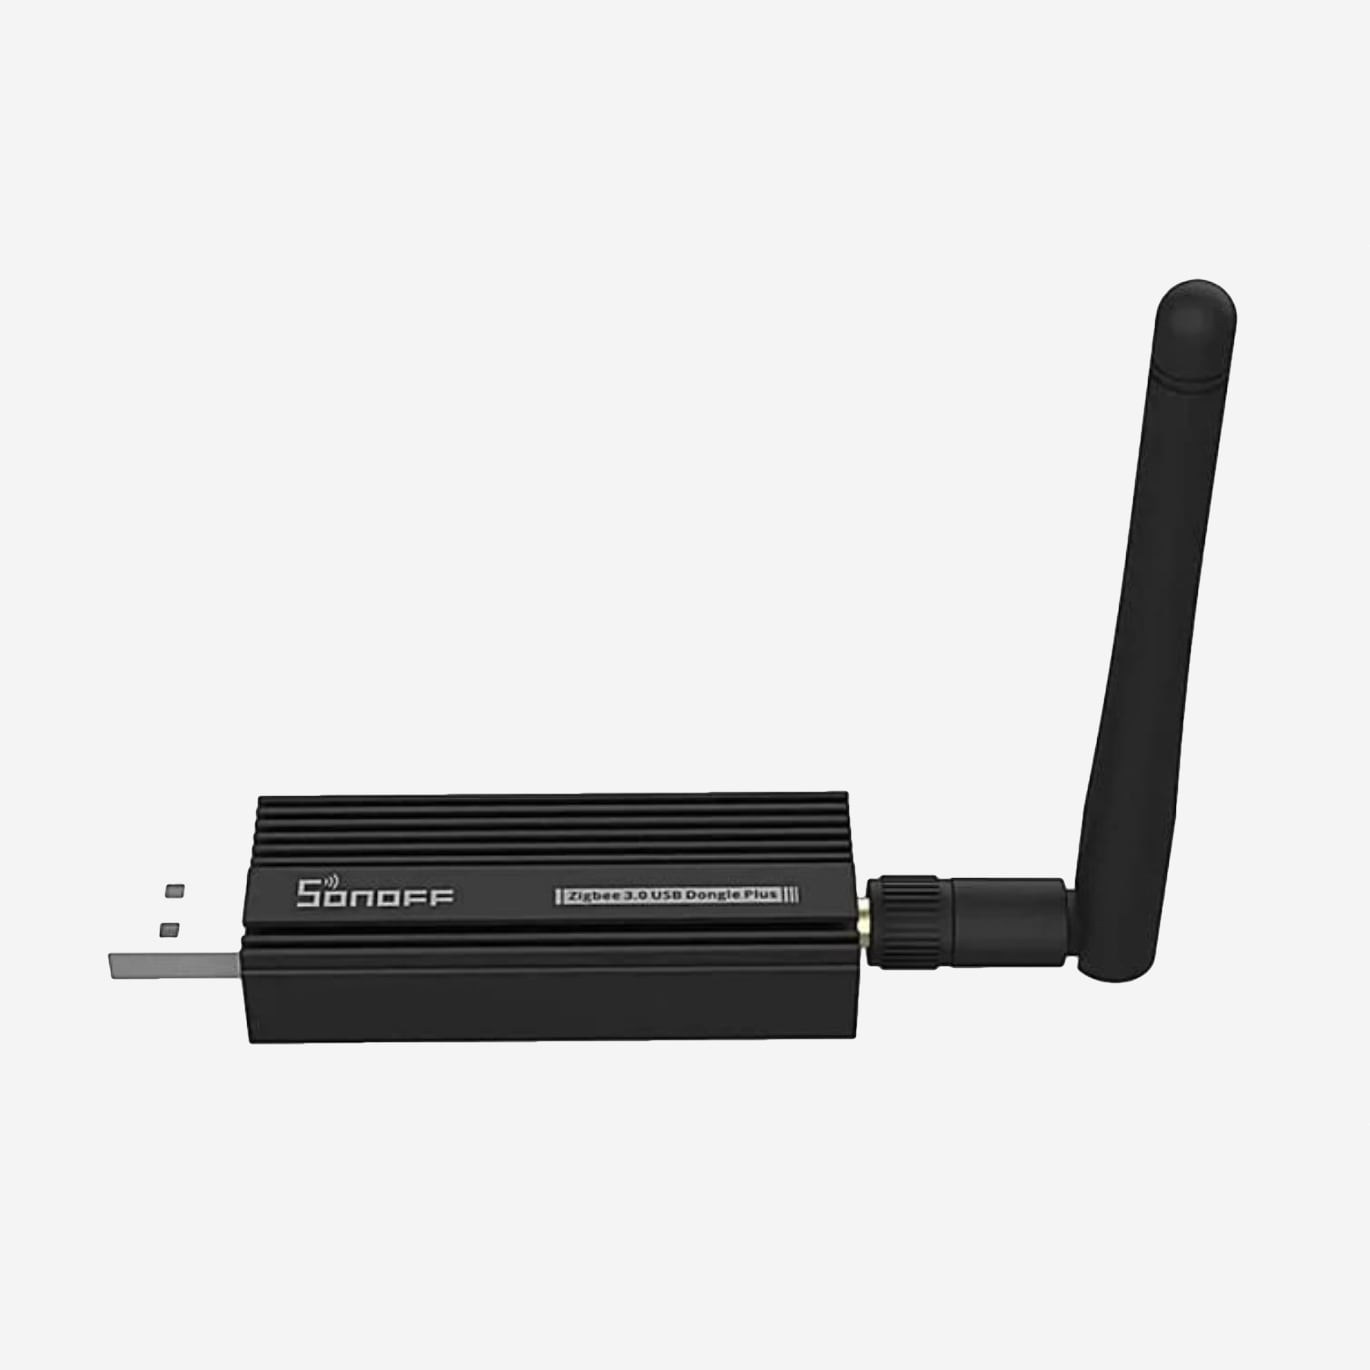
Sonoff Zigbee 3.0 USB stick
This USB stick will allow Candle to connect to hundreds of Zigbee devices, including those made by IKEA. Get it from Aliexpress.
Chip shortage
Due to the chip shortage it can be more difficult to purchase a Raspberry Pi. We recommend using this website to find where it is in stock:
Optional:
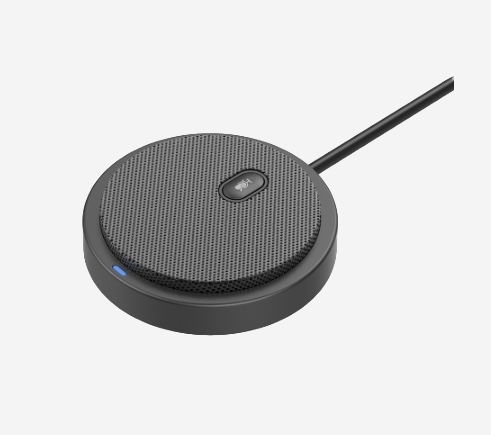
USB microphone (for voice control)
Most USB microphones should work. We recommend this "USB conference microphone". We tested more expensive models, but this one is solidly built, has good range, and comes with a mute button.
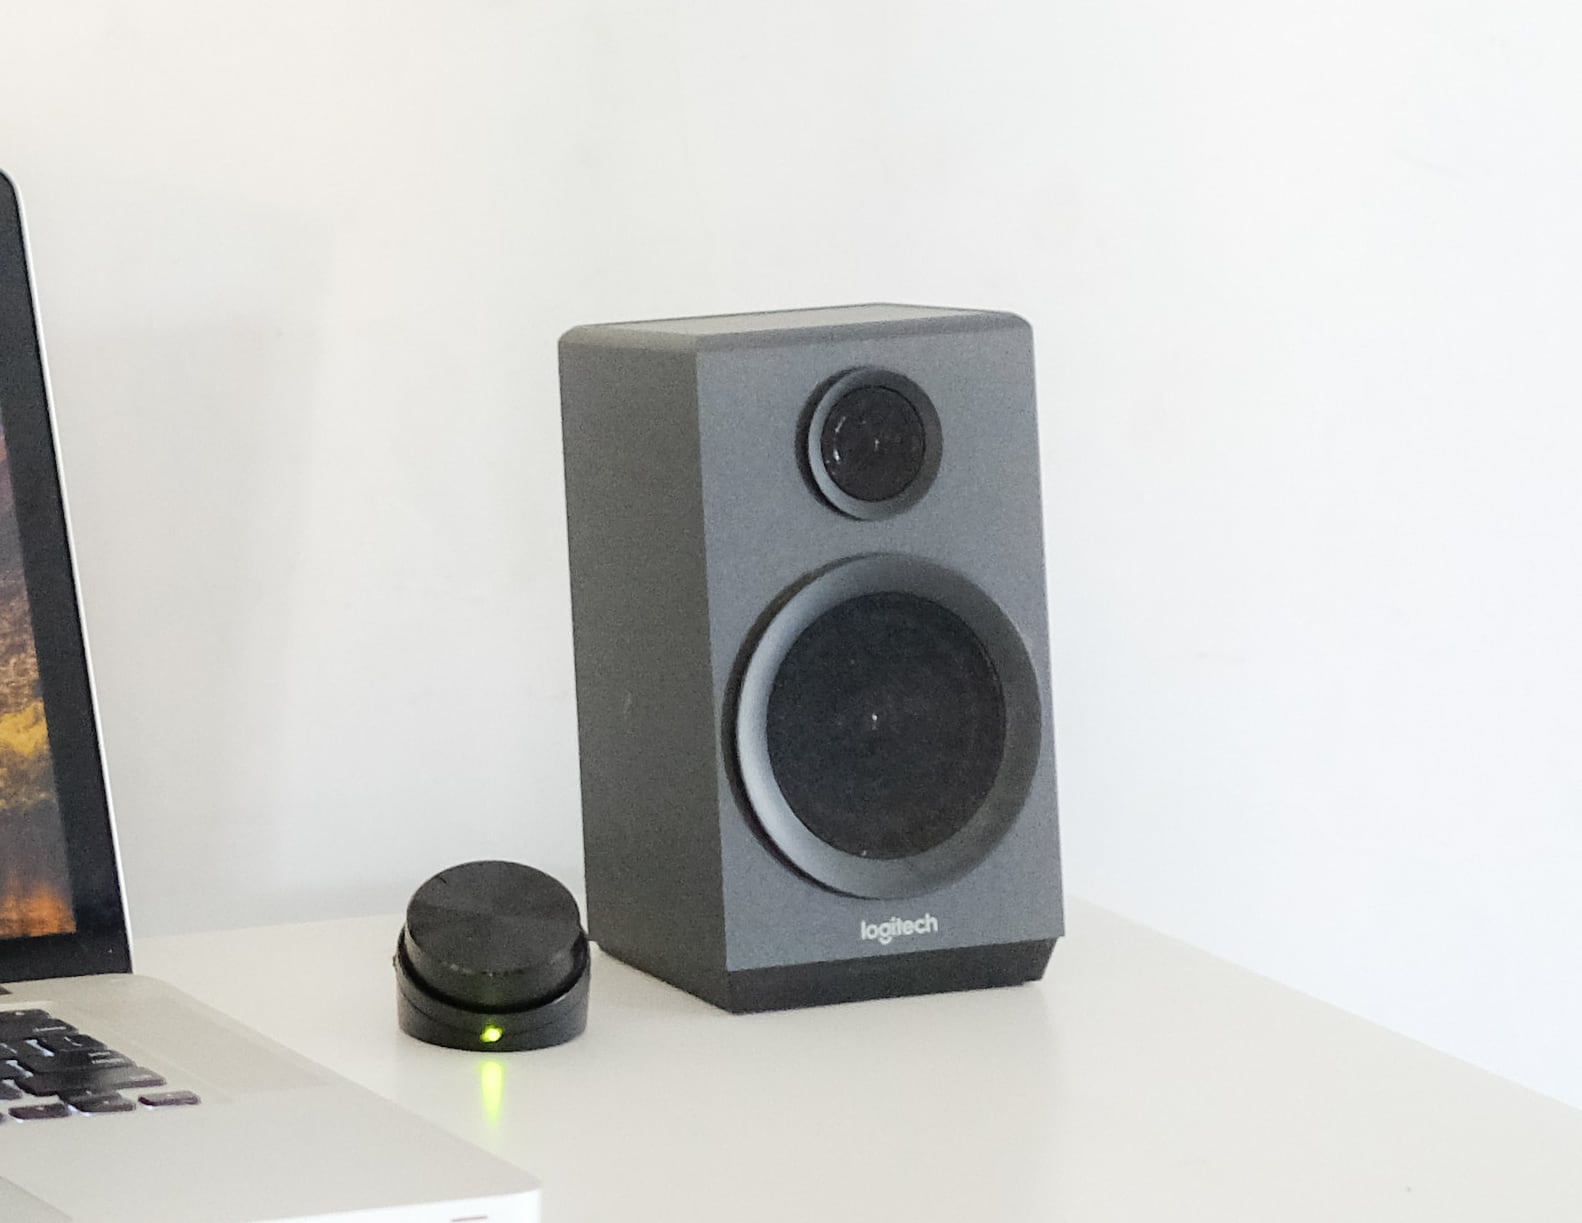
Speaker
If you don't already own a sound sytem, get a small PC speaker system that has a 3.5mm headphone jack.
Candle can also connect to Bluetooth speakers, but the connection might not be as reliable.
Plug the SD card into your computer
- Open Etcher.
- Select the disk image file your downloaded.
- Select drive. Your SD card should already be detected automatically.
- Click "Flash", and wait for Etcher to finish.
Congratulations, that was the hard part.
3. Turning it on

Plug everything in
(Unplug the Raspberry Pi from the power supply)
- Plug in the SD card.
- Plug in the Zigbee USB stick
- Optional: plug in a network cable. Candle can also connect to your network over Wi-Fi.
- Finally, plug in the power supply.
If you want to use voice control, then also plug in the speaker and USB microphone.
Optional: connect to Wi-Fi
If you didn't use a network cable to plug Candle into your router, then after powering up the Candle controller it will create a new temporary Wi-Fi network. It will be called "Candle" followed by 4 characters.
- Connect your computer to the Candle Wi-Fi
- A page should pop-up asking you to select which Wi-Fi Candle should connect to. Choose your network.
- On the next page, provide your Wi-FI password.
- The next page might only be visible briefly. If informs you that Candle will try to connect to your Wi-Fi. If possible, make a note of the address Candle is telling you to open in your browser. It's most likely "http://candle.local".
- Reconnect your computer to your Wi-Fi network.
If it cannot connect, then it will turn itself into a Wi-Fi hotspot again, so you can try again.
Visit the Candle controller
If the Candle controller has succesfully connected to your wifi, it becomes a webserver in your network. Think of it as a website that is only available inside your home.
Open the address you wrote down in the previous step. It's likely to be "candle.local", but it could also be "candle.home" or another flavour. This depends on your router.
If all went well you are being asked to create your first account. Tip: always use a unique password.
Congratulations, you should now be logged in.
Have fun
Candle comes with a built-in guide which will help you set things up in a privacy respecting way.