Signal hub
Listen to and control 433Mhz devices
Add cheap wireless power sockets, window and security sensors.
Wireless power sockets
Control lamps and other devices.
Doorbell
Connect doorbells and wall switches. These don't require batteries.
Wireless smoke sensors
Turn on all the lights when the smoke alarm goes off.
Door, window and motion sensors
Security doesn't have to break the bank.
Creating the Signal hub
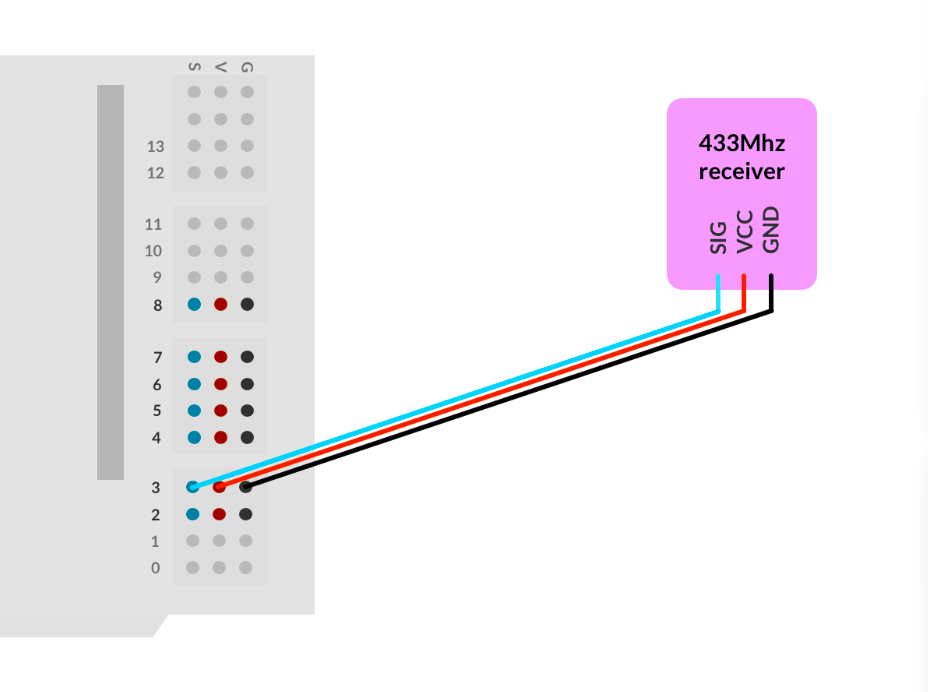
Connect the receiver
Connect its data pin to pin 3.
Connect the transmitter
Connect its data pin to pin 4.
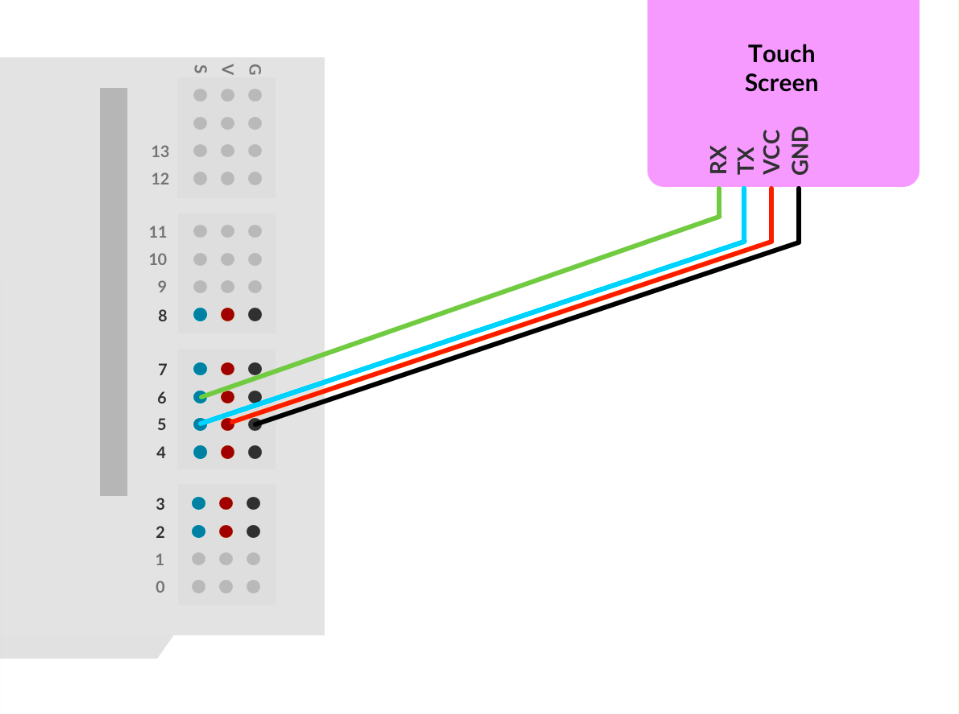
Connect the touch screen
Connect its TX (Transmit) pin to pin 5 and its RX pin (Receive) to pin 6.
Plug in the RF-Nano Arduino
Plug the RF-Nano into its socket. The USB connector should be on the outside of the main board.
Open the Candle Manager
Select the Candle Manager from the menu, and follow the steps. It will help you upload the code to your new creation.
Add your new device
Visit the Candle controller and on the things page press the (+) icon. Your new creation should be available. Optionally, select which of its properties you'd like to have in the spotlight. Click on "save" to complete the proces.